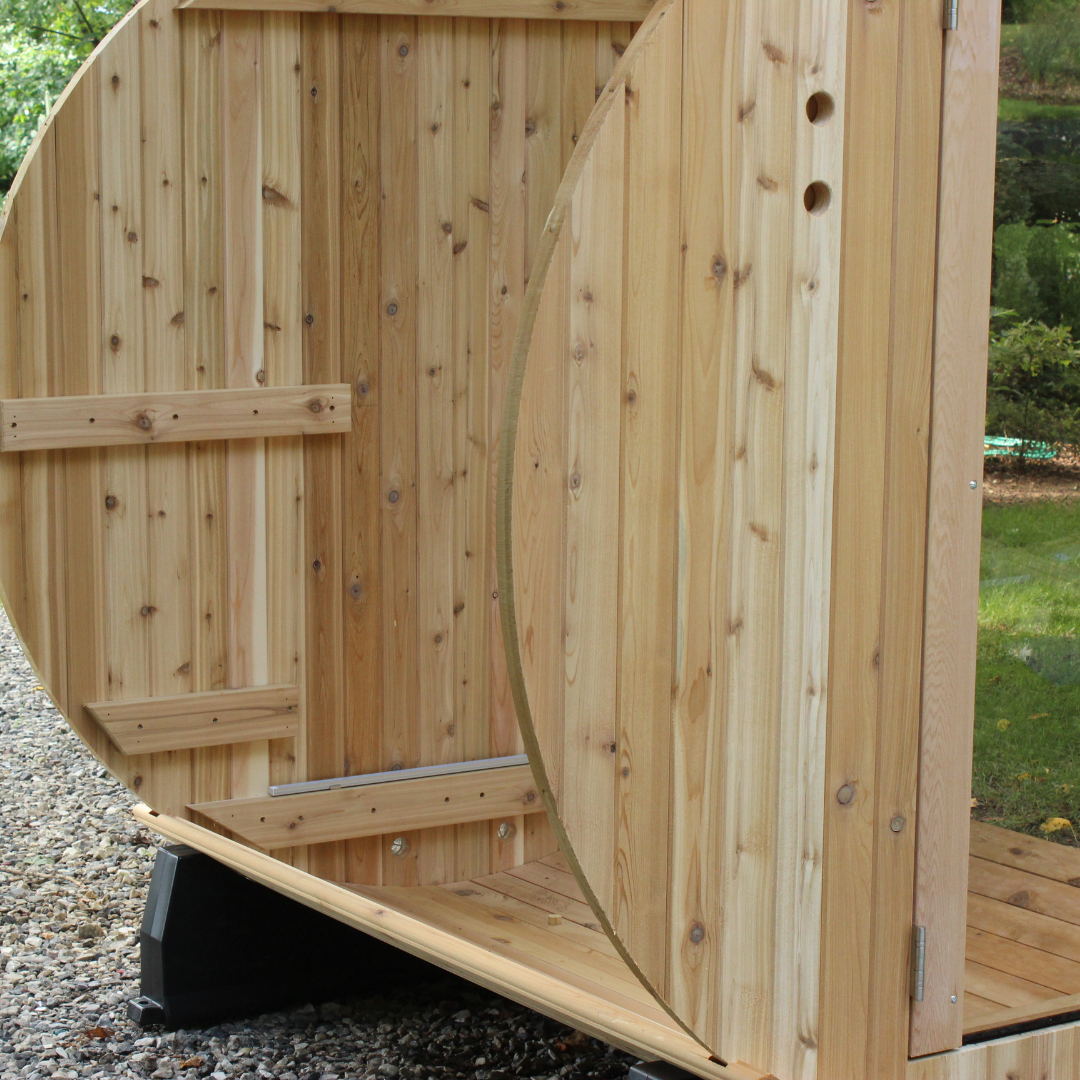
Where you go, your sauna follows: a guide to moving your home sauna.


Whether you are moving to a new house or rearranging your current setup, the logistics behind shifting an 800-pound sauna from one place to another is intimidating. You may be tempted to list the sauna with the house and buy another unit or redecorate the sauna space to satisfy your need for change. Before you commit, we are here to tell you that you can move your sauna. Here’s how!
Step 1) Locate your new sauna spot
Perhaps when you originally built your barrel sauna, your neighbor Steve had big hedges separating your lawns, but recently he decided to make a change and took them all down. Suddenly, the vista rear window you chose to add some natural light is now a portrait right into your relaxing sauna session. It’s time to move! Think about what you want in a new spot (Privacy? Open space? Proximity to the shower?) and determine if it is right for you.
Step 2) Follow our sauna site preparation guides for indoor and barrel saunas
You may get a sense of déjà vu during this step, but it’s important to make sure your sauna’s new home is just as good as the old one, if not better! Whether you are moving the sauna to your bathroom renovation or your garage, make sure this new spot is up to par.
Pro tip: If your indoor sauna is on hard ground and you just want to move it across the room, use some furniture sliders. Simply place them under the corners and wrangle a friend to help you push it to the new location. Voilà! Don’t forget to follow the electrical instructions in steps 3 and 7.
Step 3) Disconnect the sauna from power
Do not move your sauna until the heater is disconnected from power. You’ll need to call on your electrician twice for this whole moving process to go smoothly, so make sure you have them on speed dial. Your new bestie, the electrician, will disconnect the heater so that you can easily move all your pieces from one place to the other. We cannot stress this enough—make sure a licensed electrician does this step!
Pro tip: If you are moving a barrel sauna a short distance, skip steps 4-6 by using a forklift to easily move the sauna without having to disassemble!
Step 4) Get to work with disassembly
Dust off (or download) your sauna manual, flip to the end and work your way backward. Good news! You don’t have to work all the way to step one. If you have an indoor sauna, you can leave certain pieces intact (such as frames and roofing panels). For barrel saunas, stop your disassembly when you get to the base of the sauna. You can easily move the base on its own.
Pro tip: Start with the interior pieces for an easier process. This will leave you with the sauna shell. Find a good sorting system—piles, labels, whatever works so that you can keep your parts straight.
Step 5) Make the move
If you are moving the sauna to a more secluded part of your lawn (bye, Steve!), you (and some friends) can move the pieces to your new location. If you are moving homes, make sure the pieces are secured in the back of a moving vehicle. You don’t need to have saved the packaging from the sauna to do this—just make several trips if you can’t fit everything in at once.
Pro tip: Take some time to do a little cleaning! The last time your sauna was this exposed, it was in a box and ready for you to build. Take advantage of the disassembled state—clean wall pieces, stain the staves, and do a general check up of your sauna. Who knows the next time you will be able to clean this thoroughly?
 |

|
 |
|
|
Sauna staves, ready to be cleaned. |
|
Step 6) Build again
Step 7) Reinstate electrical
Pull out your phone and give your electrician a call—it’s time for part two. Now that the sauna is built, in all it’s new-home glory, it’s time to get power back to that baby!
Pro tip: Before you hang the heater again, take some time to remove the sauna stones from the heater cavity and give them a wash.
Step 8) Enjoy a well-deserved sauna from your new location


