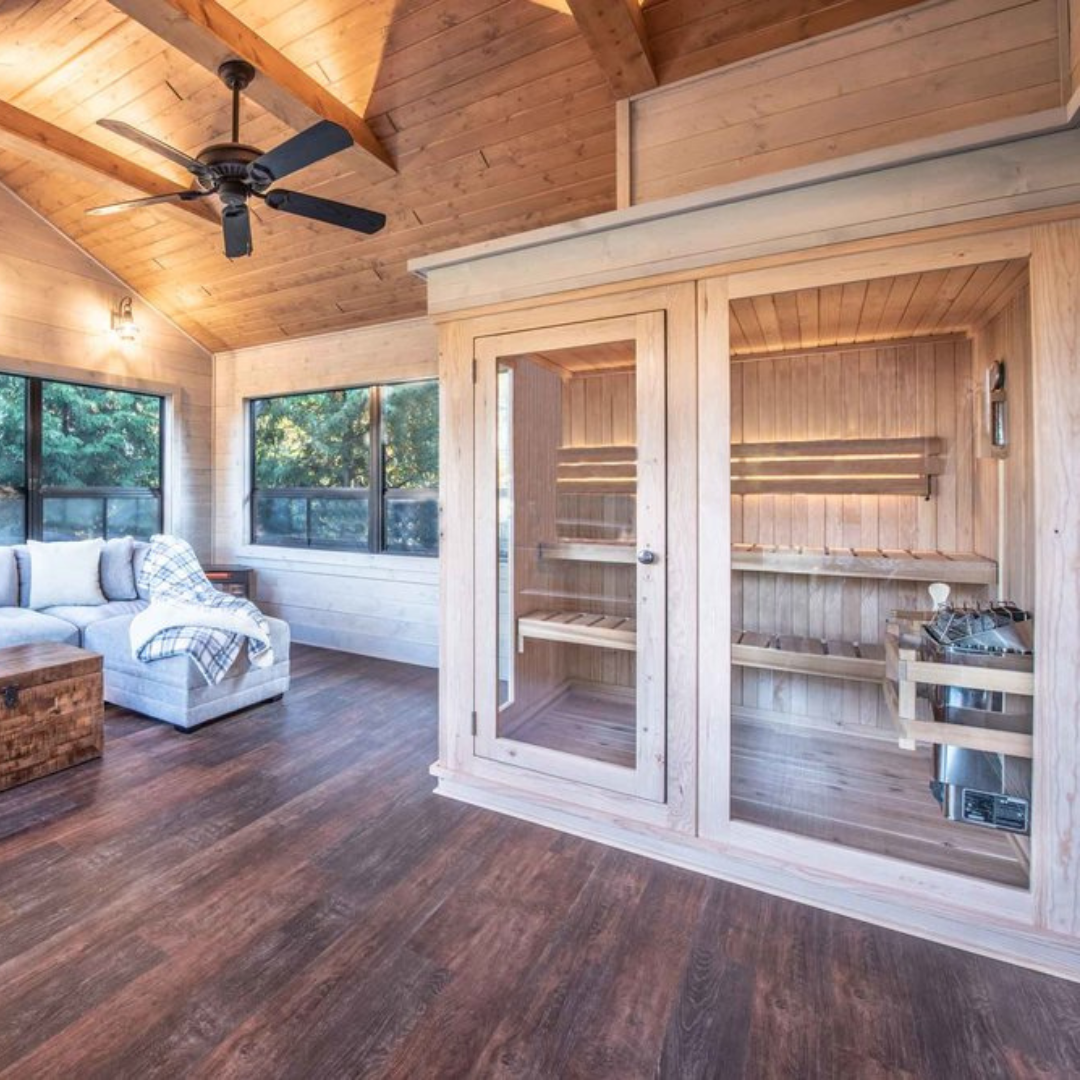
Installing an indoor sauna is a fantastic way to create a personal wellness retreat inside your home. Whether integrating a freestanding sauna or building a custom sauna, proper preparation ensures optimal performance, safety, and longevity.
Step 1: Choose the Right Location
Before installing your sauna, consider the following factors to select the best location:
✔️ Accessibility: Pick a space that is easy to reach and provides privacy, ideally near a bathroom or shower for post-sauna rinsing.
✔️ Structural Integrity: Ensure the floor can support the sauna’s weight, especially in multi-story homes.
✔️ Ventilation: Good ventilation is essential to allow for fresh air intake and moisture removal.
✔️ Available Space: Determine the size of your sauna based on your needs and available room space.
Common indoor sauna locations include:
- Home gyms
- Master bathrooms
- Basements
- Spas or wellness areas
Thinking about placing an indoor sauna outdoors? Indoor saunas are not designed to withstand outdoor elements like rain or snow. If you’re considering an outdoor installation, keep in mind:
- Covering is required: A covered patio or pergola is ideal.
- Glass retains less heat: Indoor saunas have more glass than outdoor models, so in colder climates, upgrading to a more powerful heater is recommended.
- No enclosed floor: Indoor saunas do not come with flooring. If placing it on a slatted deck, install a sealed platform underneath to prevent drafts.
Step 2: Frame Insulate the Space
If you are building a custom indoor sauna, proper framing and insulation are key to heat retention and moisture control.
✔️ Frame the area: Use wood framing to create the sauna enclosure.
✔️ Insulate walls and ceiling: Use high-quality insulation like fiberglass or rock wool to maintain heat efficiency.
✔️ Install a vapor barrier: A foil-faced vapor barrier should be installed to prevent moisture from seeping into surrounding walls.
Freestanding saunas do not require framing but should still be placed in a well-ventilated, dry area.
Step 3: Electrical Considerations for Your Heater
If you choose an electric sauna heater, proper installation is crucial for safety and compliance.
✔️ Power source: Ensure your chosen location has access to the appropriate electrical supply.
✔️ Consult an electrician: All electrical work must be performed by a licensed electrician who understands local codes and regulations.
✔️ Cost considerations: Electrical installation costs vary based on:
- Distance from your sauna to your electrical panel
- Local electrician rates
- Cost of wiring and material
✔️ Get multiple quotes: We recommend contacting 2-3 electricians for estimates before starting installation.
Step 4: Prepare the Floor
Your indoor sauna can be placed on almost any solid surface—including concrete, tile, and laminate. However, avoid placing it directly on carpet or hardwood flooring, as moisture and heat can cause damage.
✔️ Use a waterproof surface: Tile, concrete, or other water-resistant materials are best.
✔️ Ensure proper drainage: A slight floor slope can direct water toward a drain in areas with higher moisture.
✔️ Install a sealed platform if necessary: If placing the sauna on a slatted deck, build a sealed platform underneath to eliminate drafts.
Step 5: Plan for Final Details
Before installation, consider these final touches:
✔️ Door Size Placement: Ensure the sauna door is positioned for easy access.
✔️ Benches Seating: Plan your seating arrangement based on your comfort and available space.
✔️ Lighting: Use low-wattage, sauna-safe lighting to enhance the atmosphere.
Step 6: Shipping Delivery Information
All Almost Heaven Saunas ship within the continental U.S. via freight service. Here’s what to expect:
✔️ Delivery Timeline: Most saunas ship within 2-4 weeks, depending on the model and inventory availability.
✔️ Freight Delivery: The sauna will arrive in multiple flat-packaged boxes on a large truck. You will need to unload and move the boxes to your assembly location.
✔️ Curbside Drop-Off: The freight company will deliver the sauna to the curb or driveway, not inside the home or backyard.
✔️ Assembly Required: Most of our saunas are designed for DIY assembly with easy-to-follow instructions. We recommend having at least two people for installation.
Need more details? Visit our full Shipping Info page.
Preparing your space properly will ensure your indoor sauna lasts for years, providing a safe, comfortable environment for relaxation. Whether you’re placing your sauna in a home gym, bathroom, or basement, taking the right steps will maximize performance and durability.
Need help choosing the perfect indoor sauna? Explore our collection of Almost Heaven Indoor Saunas today.


