


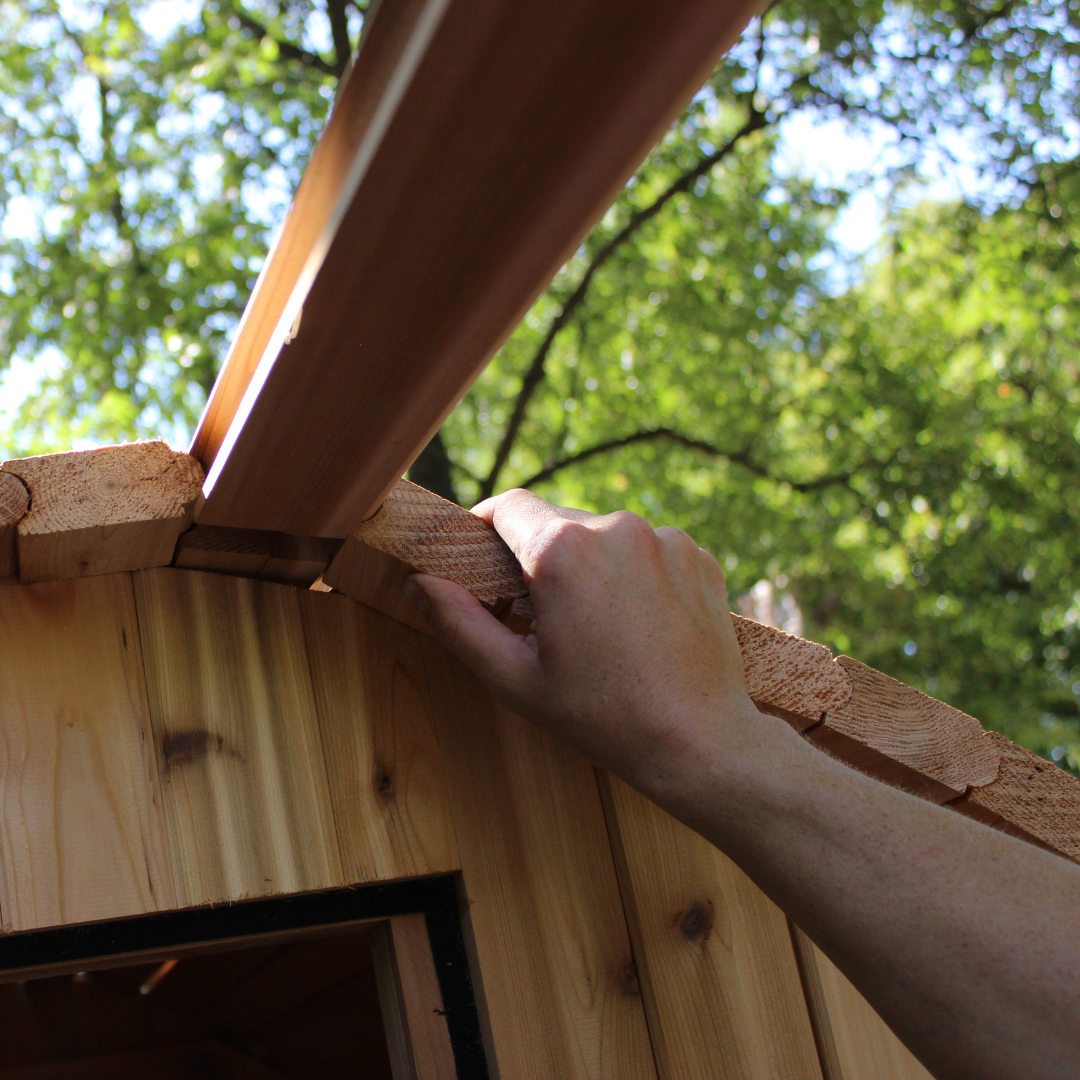
Four tips for tackling your barrel sauna building project
Your barrel sauna has arrived and it’s like Christmas morning (maybe it IS Christmas morning for you!). You’ve unpacked the pallet, inspected all the boxes, and moved it to its future home. So what’s next? In addition to watching our brand new 2019 Barrel Sauna Assembly Video, reading the instruction manual 12 times, and asking half a dozen questions to our staff, we present these four insider tips. Kellen Mouw, barrel sauna expert, graciously dished his secrets for building barrel saunas efficiently.

1. “Make sure the surface is level – paver stones, deck, cement slab, cinder blocks, gravel… anything but directly on the ground.”
Tip: a level will come in handy throughout the building process!
Why is having level ground key? If the base is out of whack, the sauna is out of whack. Checking to make sure the sauna is square and level is important during several steps of the

2. “Be sure the staves overlap the cradles uniformly on the front and back of the barrel.”
Tip: Use a ruler or measuring tape to check your work
Measure, measure, and measure again! As with the ground your sauna is being built on, if the base of the sauna isn’t square, it may cause problems in the future. We recommend a stave overhang of about 5” on the back and front of the sauna. If you have more than 2 cradles, place them equidistant and you are golden!

3. “After the floor assembly is complete, nail –don’t screw– every second or third stave.”
Tip: if you have one, use a nail gun to speed up the process!
“After the three o’cock and nine o’clock positions, do not nail. Rather, use a strap or rope to hold the staves in place while you continue assembly. We want the bands to cinch the staves together as tight as possible. This will not happen as effectively if the staves on the upper half of the barrel are fixed in place with a nail.”

The ultimate goal is to get a tight seal on this barrel sauna.
They are built for this, it all just comes down to construction! Make sure you stop nailing the staves halfway up each side of the barrel. This will allow the staves to have some give. Kellen’s tip to use a strap to keep the shape is helpful, and we recommend that you do this!

4. “Insert as many staves in as possible! Creates the tightest seal.”
Tip: use rope to keep the barrel sauna shape
Even when you think you’ve gotten as many staves in, look again! Before putting the bands on to cinch everything in, check and see if your staves all bow away from the barrel ends a bit. If they do, you are on the right track! Keep in mind, the lumber is going to expand and contract based on your climate. You may need to insert additional staves or filler staves in the future, so keep them handy.
If you have any further tips or questions on building a barrel sauna, you can reach out to our sales team at sales@almostheaven.com. We would love to hear from you! If you are here and you don’t have a barrel sauna yet, what are you waiting for? Check out our current specials and join the barrel sauna movement! And don’t forget to check out our new barrel sauna assembly video below. Cheers!


